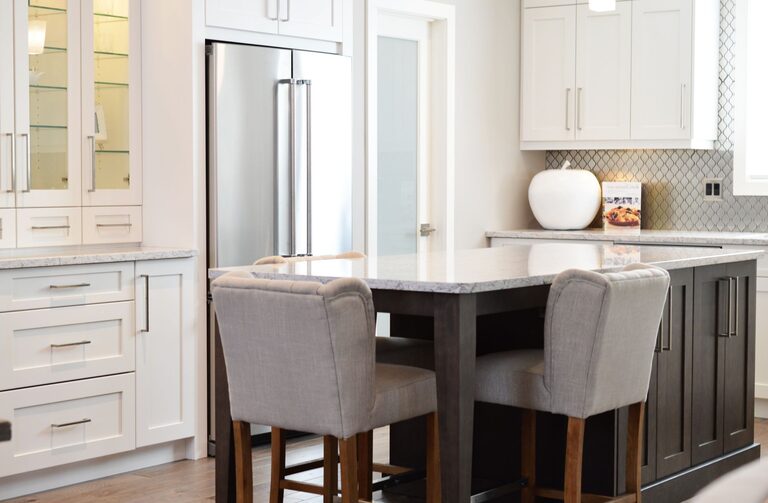
A clutter-free kitchen counter can make the entire room feel calmer, cleaner, and easier to use. When counters are covered with appliances, mail, dishes, and food packages, even simple tasks can feel difficult. The good news is that you do not need a complete kitchen renovation to create more open space.
With a few practical changes, you can remove unnecessary items, improve storage, and create simple habits that keep clutter from returning. Use the steps below to make your kitchen counters more functional and easier to maintain.
Start With a Complete Counter Reset
The easiest way to organize your counters is to begin with a clean slate. Remove everything from the surfaces, including appliances, containers, decorations, mail, and items that do not belong in the kitchen.
Place the items on a nearby table or another clear surface so you can sort them easily. Cleaning the counters while they are empty also gives you a fresh starting point.
As you sort, divide everything into four groups:
– Keep on the counter
– Store elsewhere in the kitchen
– Move to another room
– Donate, recycle, or discard
Try not to put an item back simply because it has always been there. Ask whether you use it often and whether it needs to be within easy reach.
Decide What Deserves Counter Space
Not every kitchen item needs to stay visible. Counters work best when they hold only the things you use regularly.
Keep frequently used items nearby
Items that you use every day may deserve a permanent place on the counter. These might include:
– A coffee maker
– A toaster
– A knife block
– A cooking utensil holder
– A fruit bowl
– A cutting board
Even with these items, consider how much space they take up. A large appliance that is used once a week may be better stored in a cabinet or pantry.
Store occasional appliances
Many kitchens lose valuable counter space to appliances that are used only occasionally. Stand mixers, blenders, slow cookers, food processors, and specialty machines can often be stored on a lower shelf or in a pantry.
If an appliance is heavy or difficult to move, place it in a cabinet that is easy to access. You can also group similar items together so they are quicker to find when needed.
Create Clear Zones
Dividing the kitchen into zones can help you decide where everything belongs. A zone is an area designed for a particular type of task.
Common kitchen zones include:
– A coffee and breakfast area
– A food preparation area
– A cooking area
– A baking area
– A cleaning area
– A serving or snack area
For example, keep coffee supplies near the coffee maker instead of spreading them across several counters. Store cooking utensils close to the stove and keep cutting boards near the main preparation area.
This approach reduces unnecessary movement and makes it easier to return items after use.
Use Vertical Storage
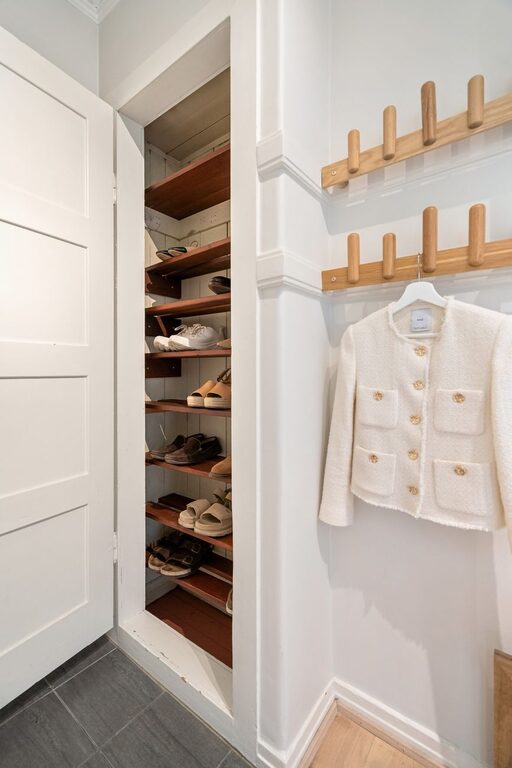
When counter space is limited, look upward. Walls, cabinet doors, and the sides of cabinets can provide useful storage without taking up work surfaces.
Consider using:
– A wall mounted rail for utensils
– Hooks for mugs or small tools
– A magnetic strip for suitable kitchen items
– A shelf for spices or jars
– A rack inside a cabinet door
– Stackable shelves inside cabinets
Open storage can be helpful, but avoid filling every wall with items. Too many visible objects can make the kitchen feel crowded. Choose one or two storage solutions that match your needs and keep them organized.
Improve Cabinet and Drawer Storage
Sometimes counter clutter is caused by inefficient storage below it. If cabinets and drawers are packed tightly, it becomes tempting to leave items out.
Make storage easier to use by grouping similar items together. For example, keep baking tools in one area, food containers in another, and everyday cooking utensils in a drawer near the stove.
Helpful storage tools include:
– Drawer dividers
– Cabinet shelf risers
– Pullout baskets
– Clear bins
– Lazy Susan turntables
– Lid organizers
– Vertical racks for baking sheets
Avoid buying storage products before sorting your kitchen. First decide what you actually need to keep. Then choose organizers that fit your cabinets and support your routines.
Give Small Items a Home
Small items often create the most noticeable clutter. Keys, receipts, snacks, chargers, coupons, and unopened mail can quickly spread across a counter.
Create a specific home for each category. A small tray can hold keys, while a wall pocket or basket can collect mail. Use a container for reusable shopping bags and a drawer for small kitchen tools.
The important part is choosing locations that are easy to use. If a storage spot is inconvenient, items will likely return to the counter.
You may also want to create a small “move later” basket. Place items in it when they belong somewhere else, then empty the basket once a day.
Manage Paper and Mail
Paper is a common source of kitchen clutter. Mail often lands on the counter because it is the first available surface.
Set up a simple paper routine:
- Open mail near a recycling bin.
- Recycle unwanted paper immediately.
- Place important documents in a designated folder.
- Keep bills or action items in one visible location.
- Clear the paper station regularly.
If possible, keep mail away from food preparation areas. A small wall organizer near the entrance may work better than a counter basket.
Reduce Items That Stay Visible
Visible packaging can make counters look busy, even when the kitchen is clean. Whenever practical, transfer frequently used foods into a pantry or cabinet.
You can store items such as:
– Bread
– Snack packages
– Coffee supplies
– Tea boxes
– Cooking oils
– Pet food
– Vitamins and supplements
Use attractive containers only if they make your routine easier. A simple basket or cabinet shelf may be enough. The goal is not to create a perfect display but to make the counters easier to use.
Keep One Counter Area Mostly Clear
Choose one section of counter to remain open whenever possible. This gives you a reliable place for preparing food, serving meals, or placing groceries temporarily.
If you have a small kitchen, even a limited open area can make a noticeable difference. Keep this space free of decorations and items that do not support daily tasks.
A clear preparation area also makes wiping down the kitchen faster.
Create a Five Minute Evening Reset
A short daily reset is more effective than waiting for clutter to become overwhelming. At the end of the day, set a timer for five minutes and complete a few simple tasks:
– Return appliances to their storage areas.
– Put dishes in the dishwasher or cabinet.
– Throw away food packaging.
– Move mail to its proper location.
– Wipe the counters.
– Empty the move later basket.
Involve other household members by giving each person a quick task. A shared routine helps prevent one person from managing all the kitchen clutter.
Review the System Regularly
Your kitchen organization system should change as your needs change. After a few weeks, notice what works and what does not.
If an item repeatedly ends up on the counter, it may need a more convenient storage location. If a drawer is difficult to use, remove excess items or adjust the dividers. If a certain appliance is used daily, give it a practical permanent spot.
A clutter-free kitchen is not about keeping every surface empty. It is about making sure the items you use have sensible homes and that your counters support the way you live. Start with one area, make a few useful changes, and build simple habits that keep your kitchen comfortable and functional.

Related Posts